
Welcome to Shippit 🤚 This onboarding guide will help you get started. Here, we outline five basic steps in order to book your first order. Once you've completed these initial steps, we invite you to explore our detailed [guide] on how to optimise your configuration.

Getting started in just five steps.
1. Confirm your dispatch location

Enter your pickup address and contact details for courier collections. These details are important as they are printed on labels and embedded in your digital manifest which is sent to your drivers for collection.
Click here for guide
Click here for guide
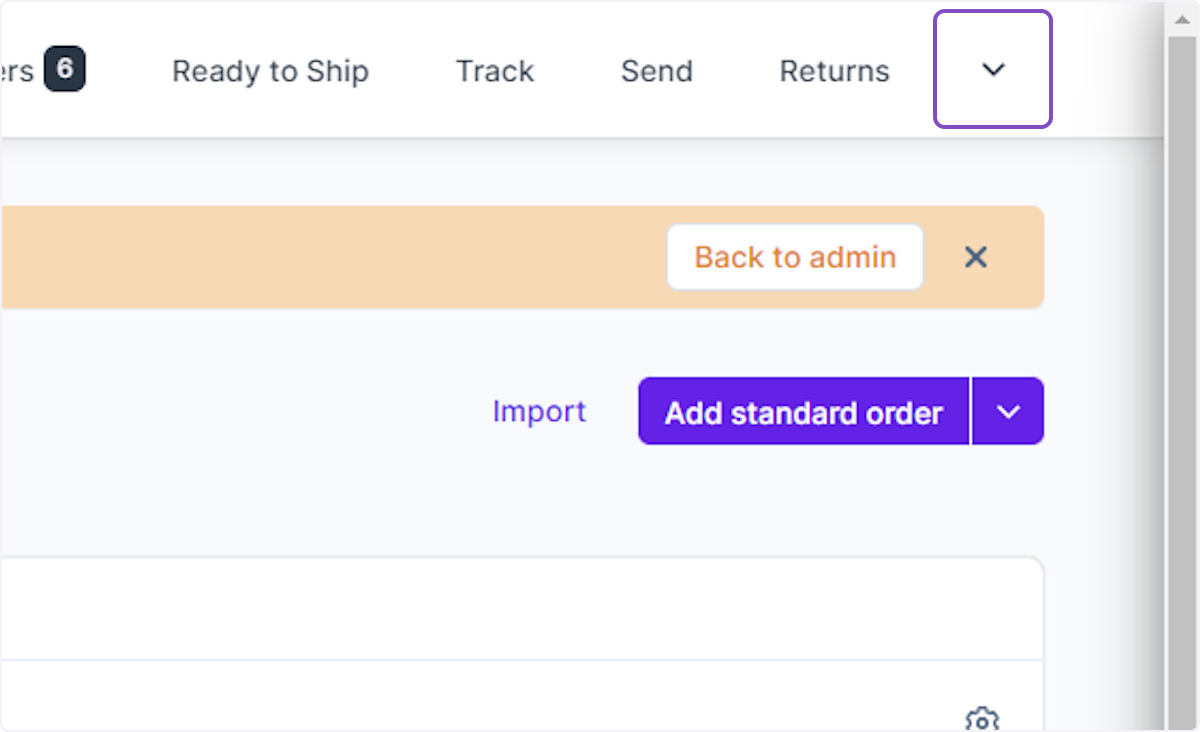
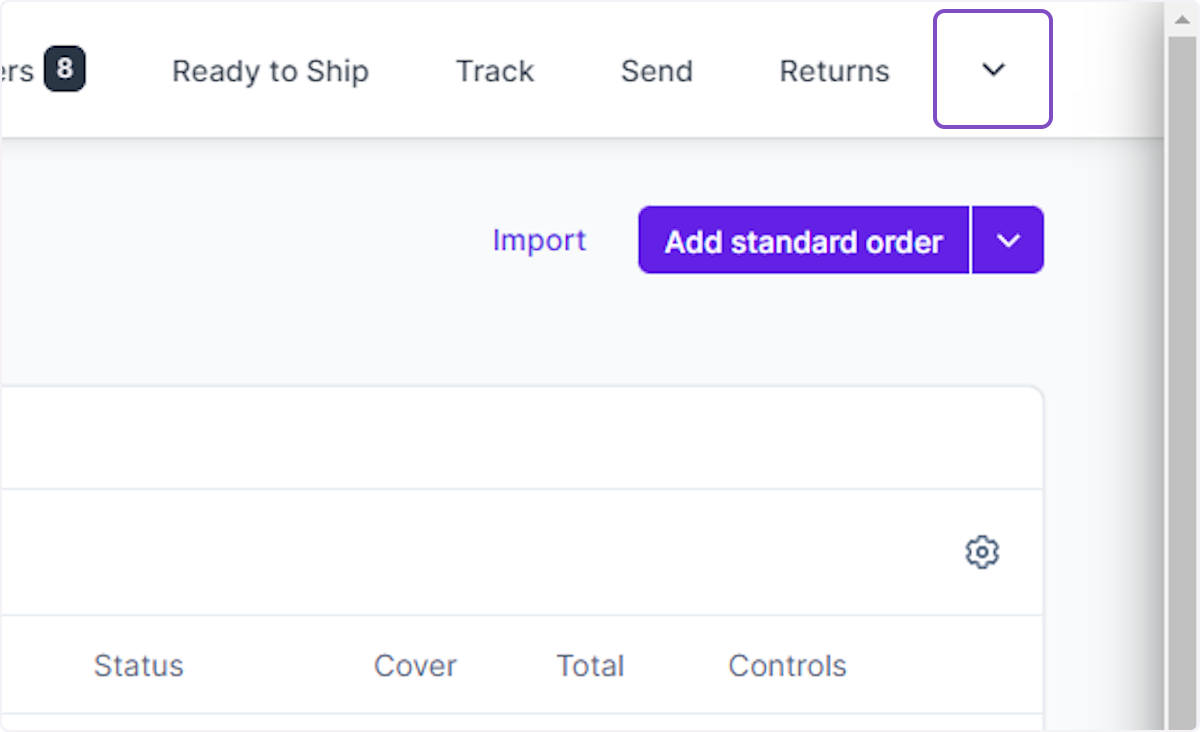
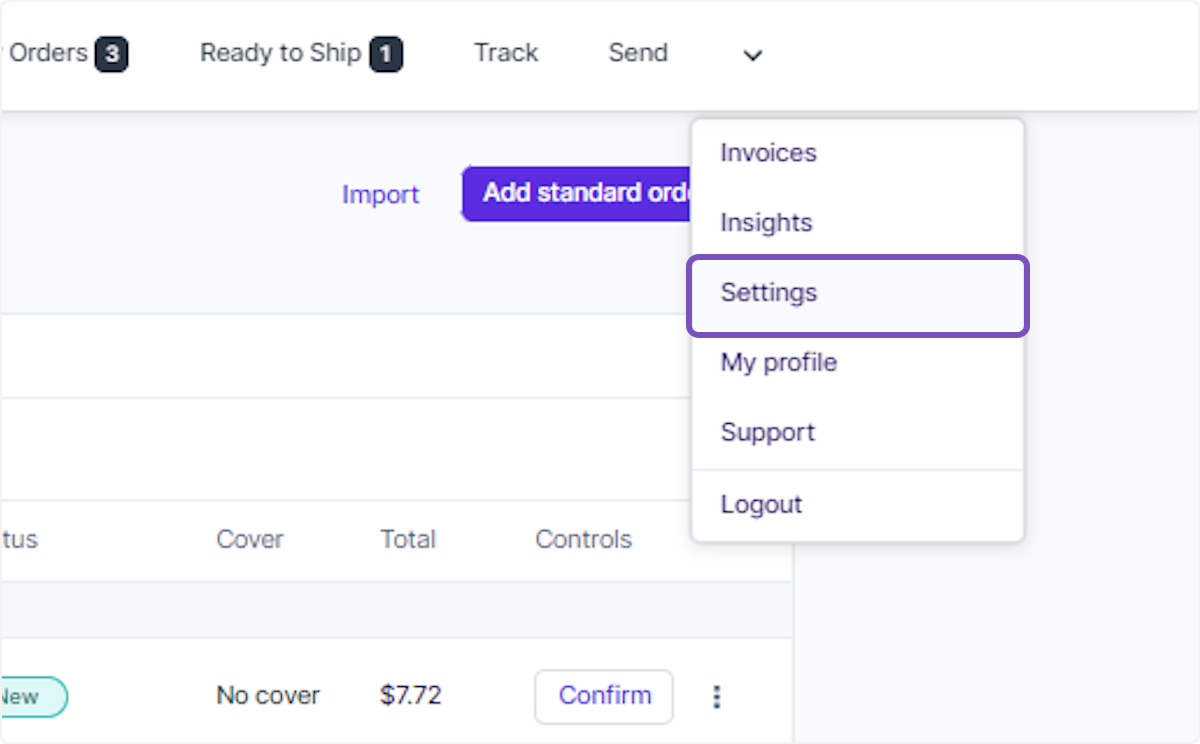
1. Click on button
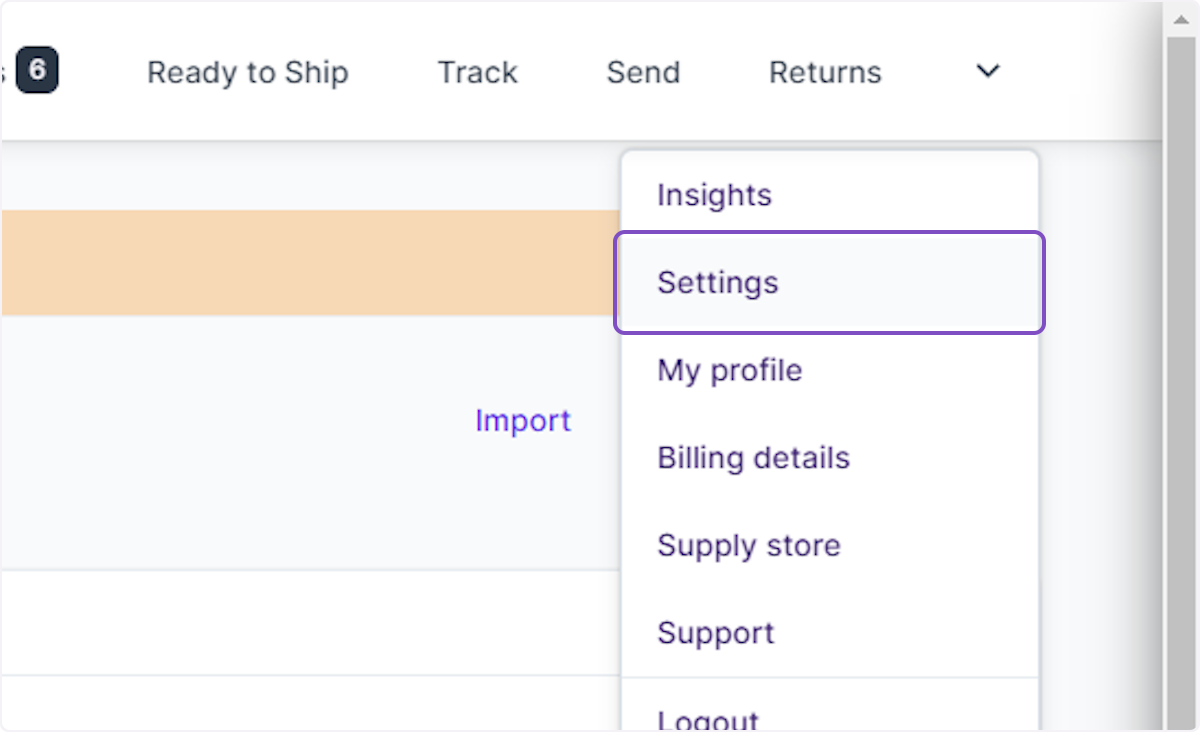
2. Click on Settings
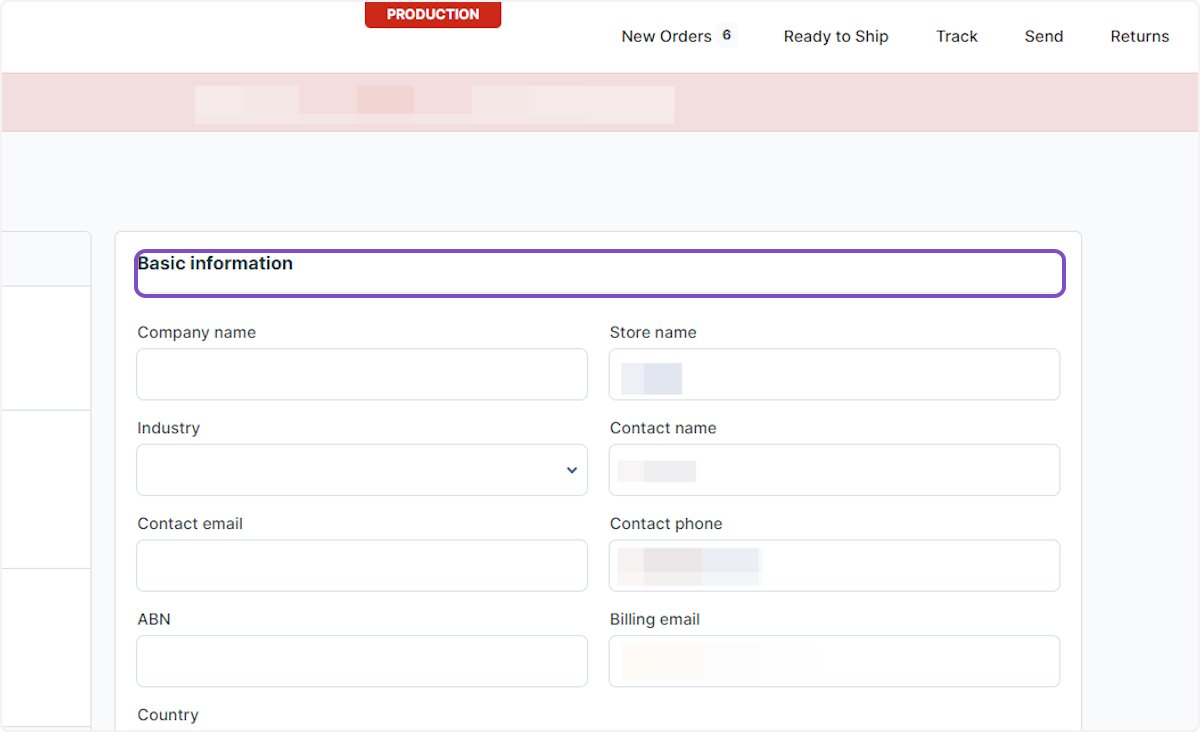
3. Ensure all basic information is populated
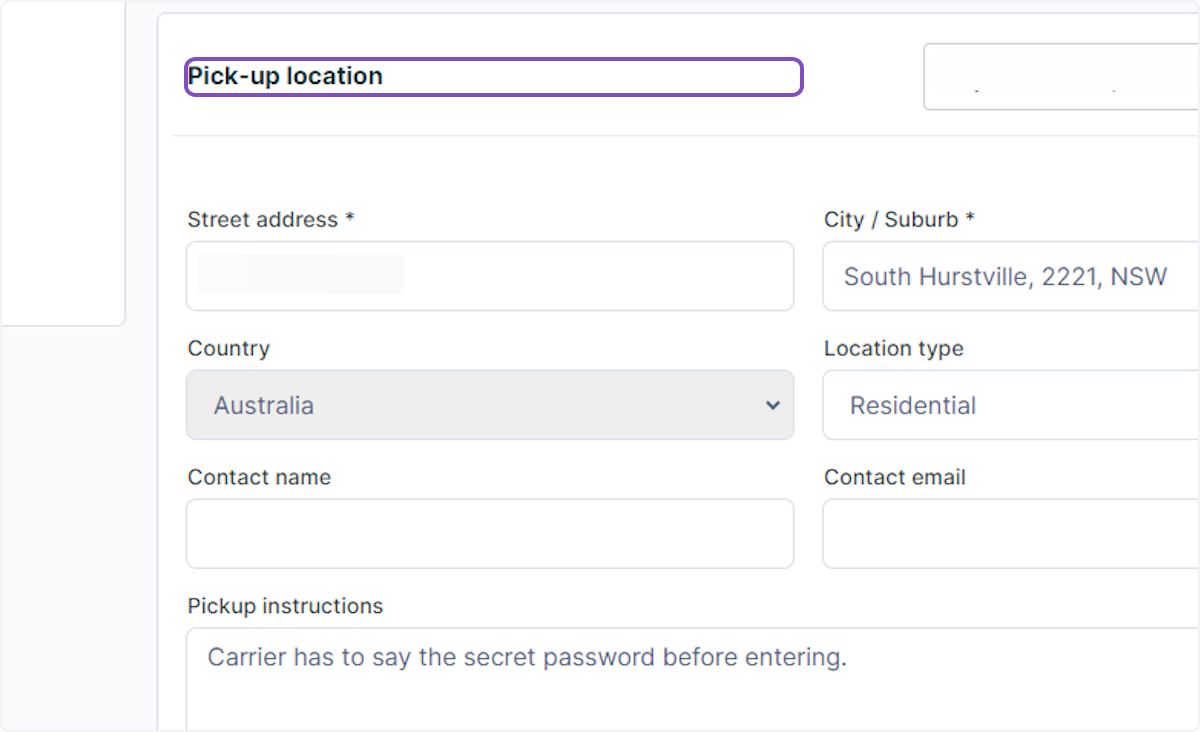
4. Ensure your pick-up location is correct
Important callouts here.
Location type: Make sure the correct type is selected, as this is important for carrier serviceability's and surcharges.
Contact Name: For driver reference
Contact Email: For driver reference
Pickup instructions: Make it clear for the driver where and how to pickup your goods.
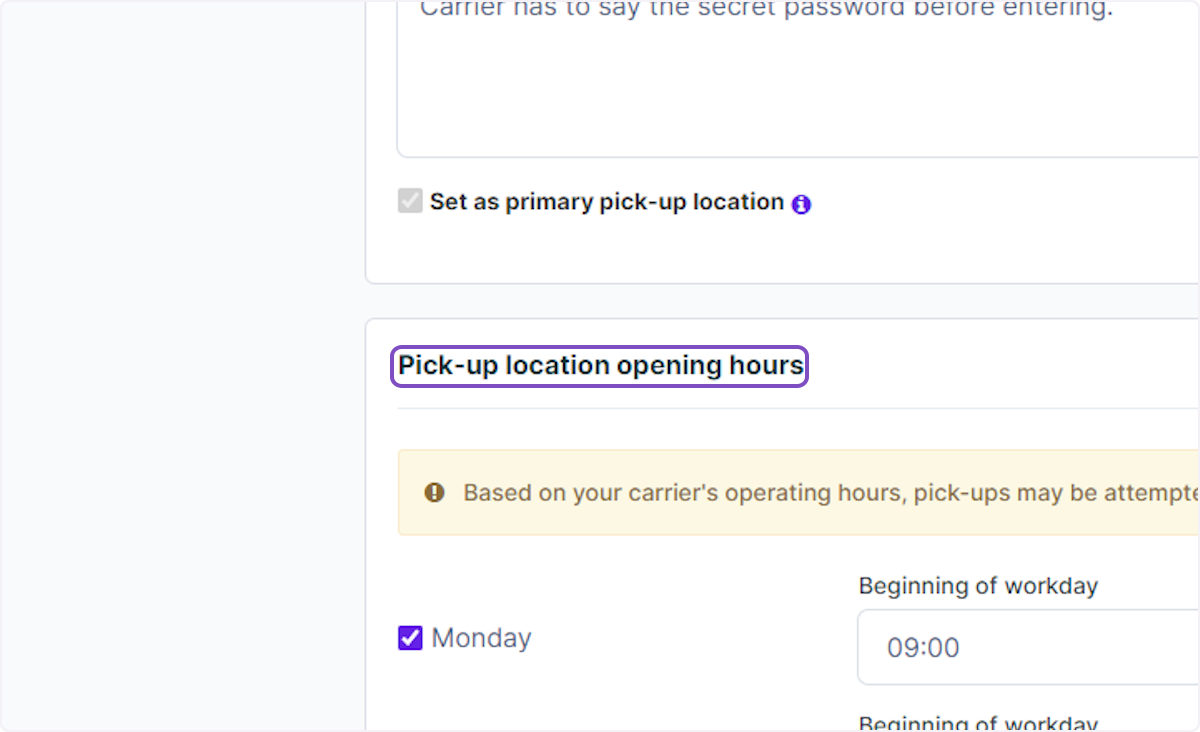
5. Pick-up location opening hours
These fields inform your drivers what hours they can and cannot pickup orders.
Note: Our carriers have cut-off times for bookings each day. Please find our guide here
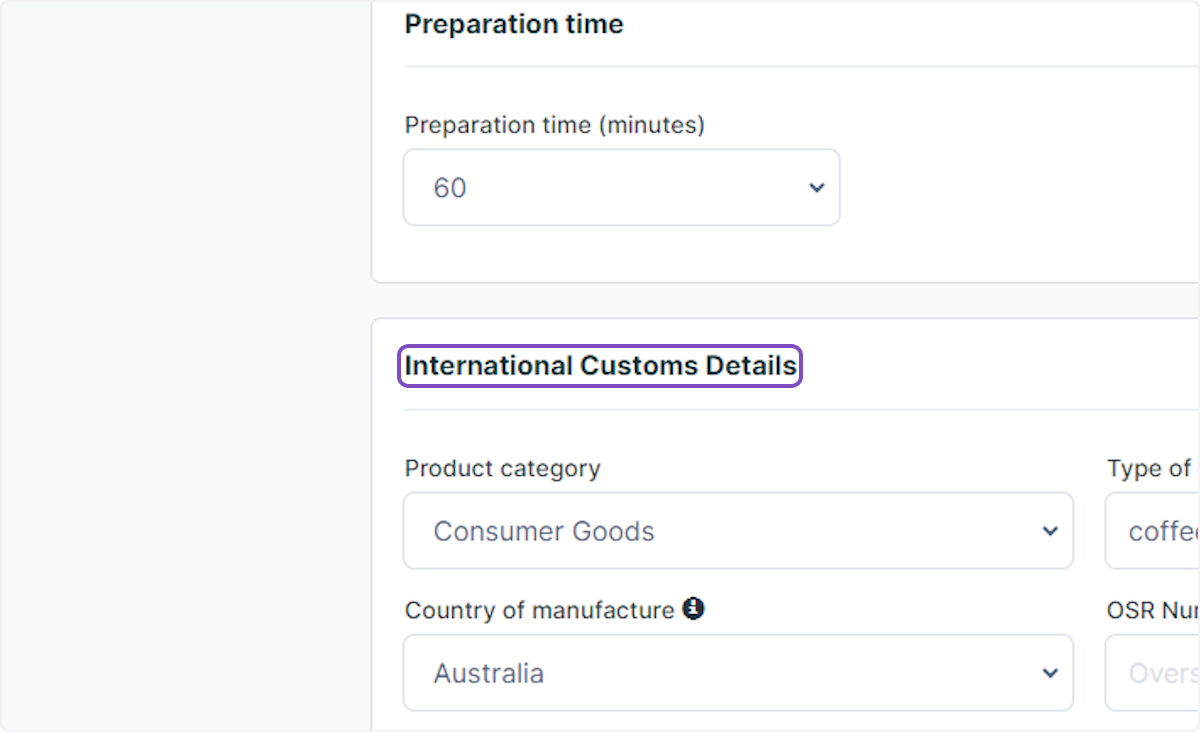
6. For international shipping (please ignore if this does not apply to you)
For more information on the OSR number field please click here
7. And click save

2. Configure your carriers

Configure your own and/or Shippit carriers to each store. You can opt for a single carrier or multiple, or try our plain label feature your own fleet. For a detailed look at the carriers available on the Shippit platform, please view our carrier matrix overview here.
Configure Shippit Carriers
Configure your own carriers: BYO
3. Integrate your system

Integrate your Ecommerce, IMS, WMS, ERP, Marketplaces, and more with Shippit. If you are building a custom integration into Shippits APIs, please review Getting started with API guide & example payloads.
Integration list:
4. Set up your standard packaging sizes

Automate the mundane tasks of package allocation, receive the correct quote for your packaged good, and ensure the correct information is being sent the the driver.
Click here for guide
Click here for guide
1. Click on button
2. Click on Settings

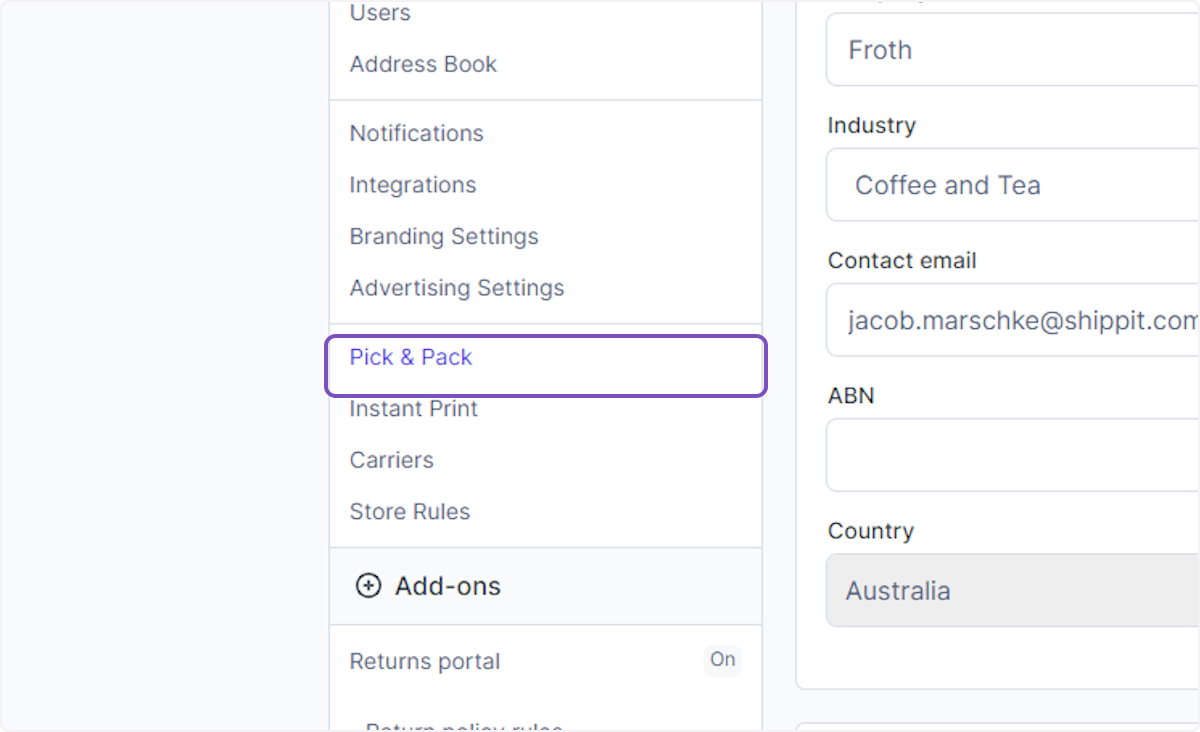
3. Click on Pick & Pack
4. Do you ship using satchels? Our tool has tabulated the most common satchel sizes, its maximum weight, and dimensions in the Carrier Default Presets table.
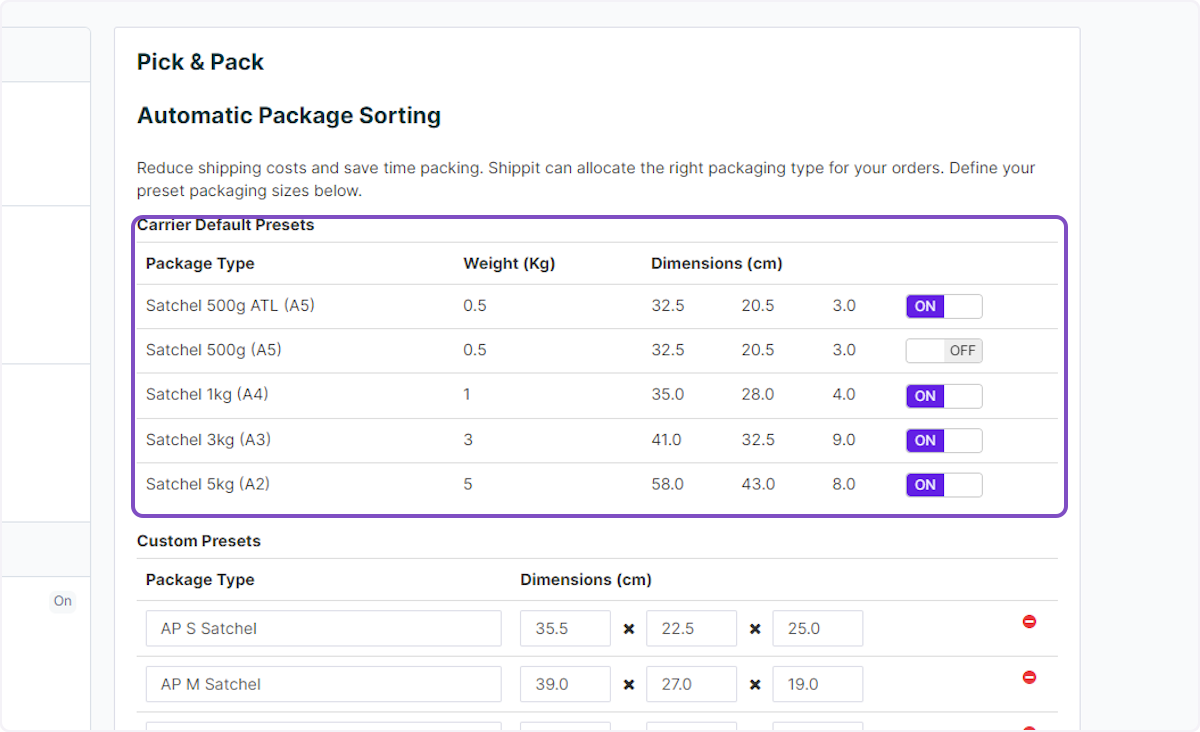
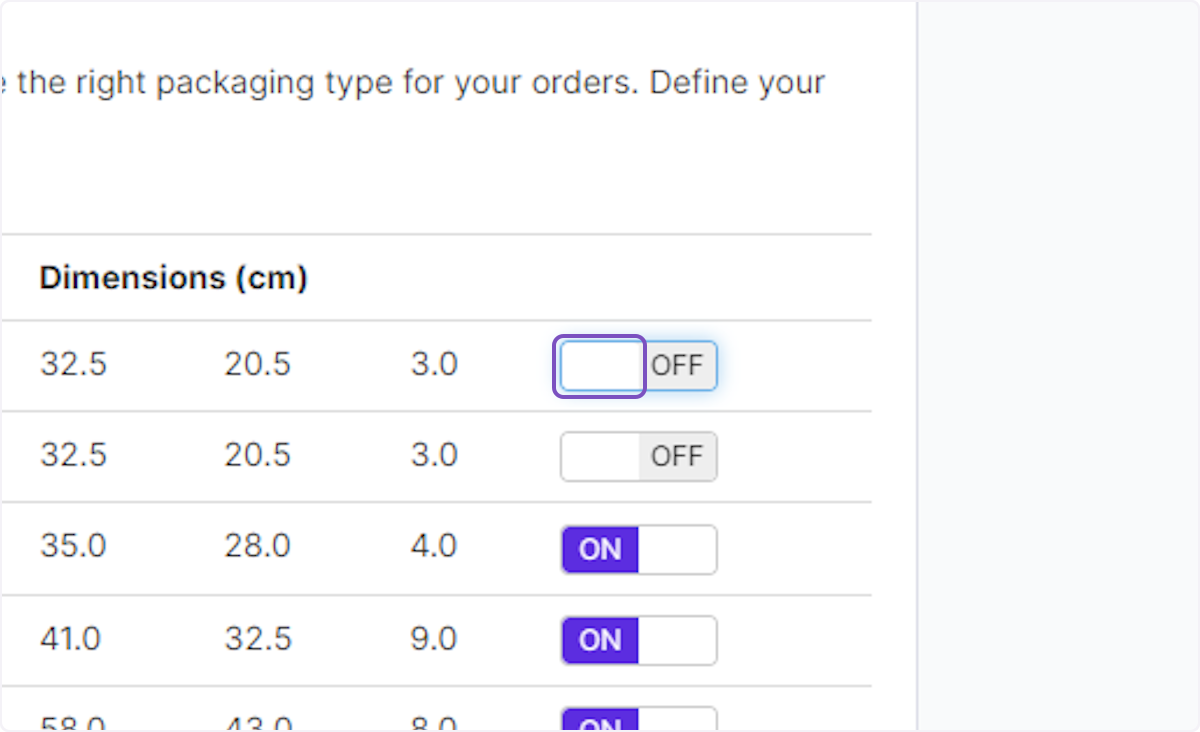
5. At the end of the row for each satchel type, a toggle switch allows you to either turn On or Off that satchel type. A satchel type that is turned off does not appear as an option when placing a new order.
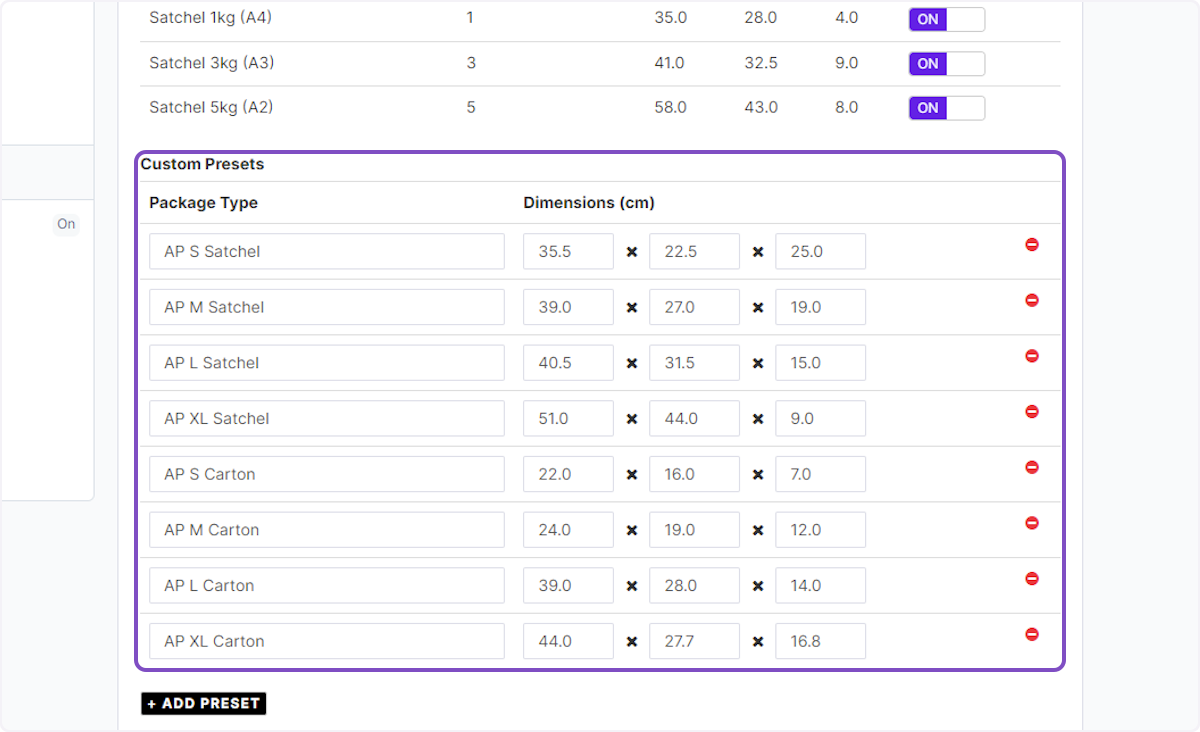
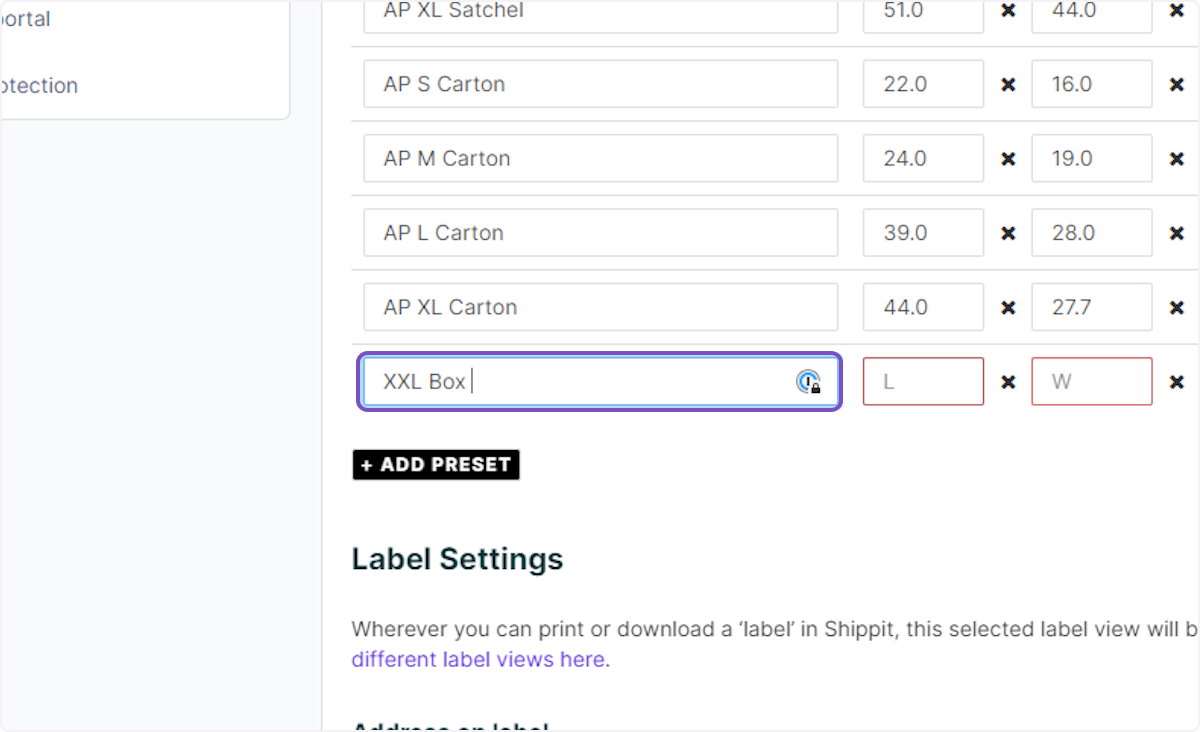
6. Add your box sizes as Custom Preset by clicking the blue Add Preset button and typing in a package type name the box dimensions.
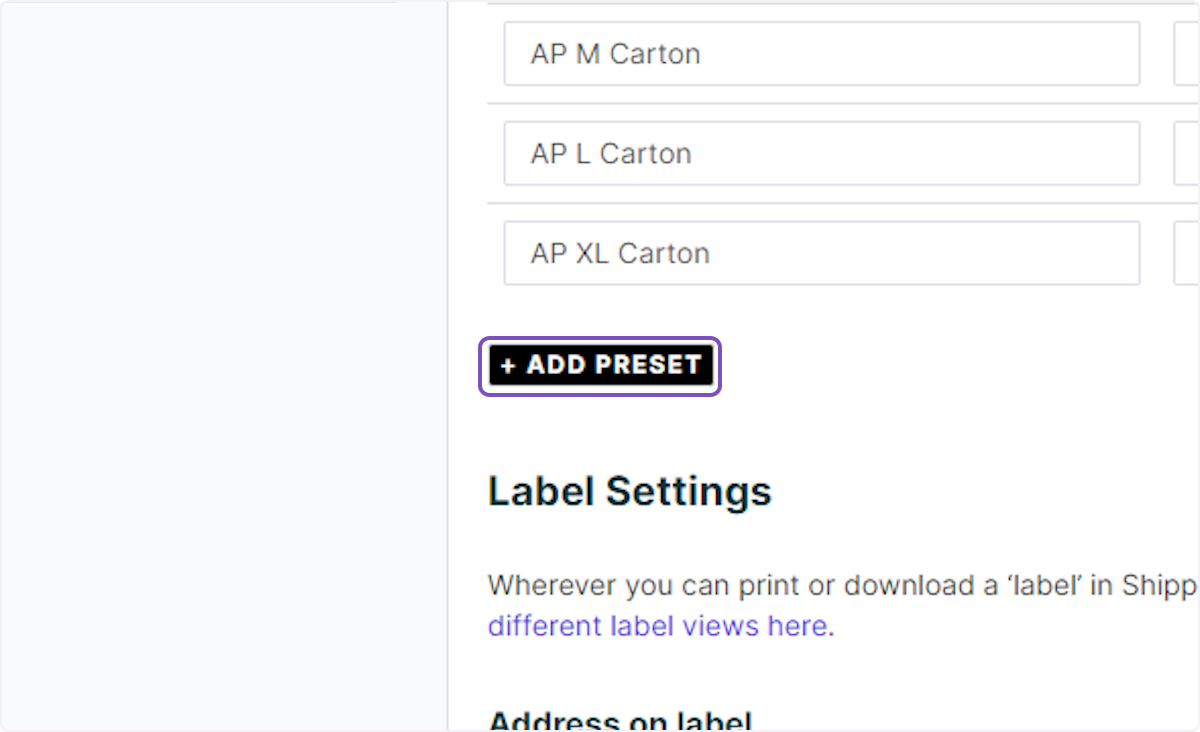
7. Click on + ADD PRESET
8. Create a box label
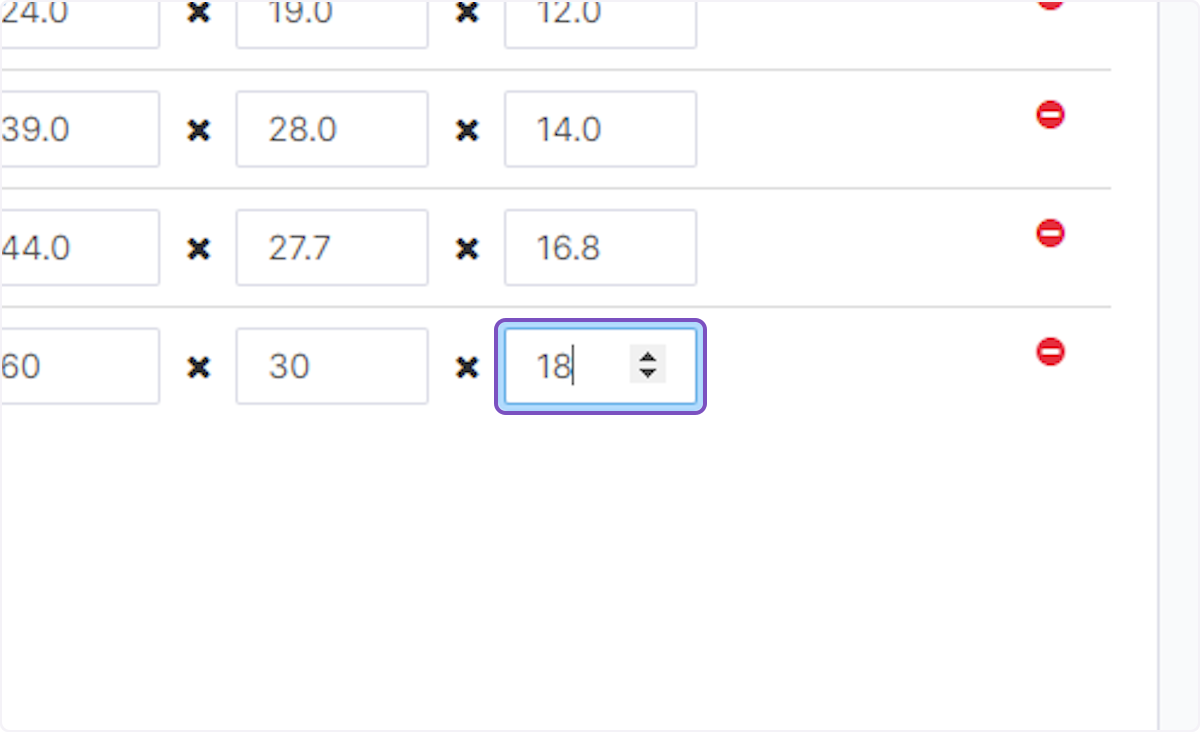
9. Enter in your box dimensions. Note: Shippit will use the dimensions to calculate a volumetric weight, and match it to the products weights & dimensions imported from your Ecommerce store.
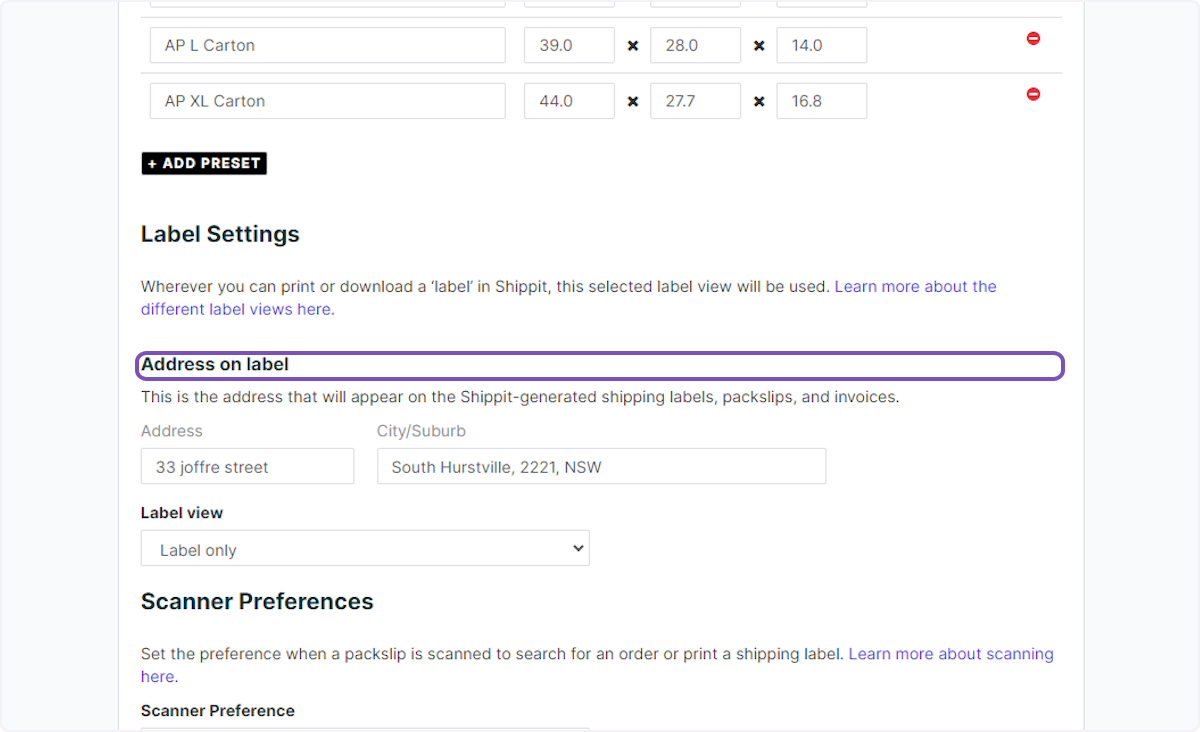
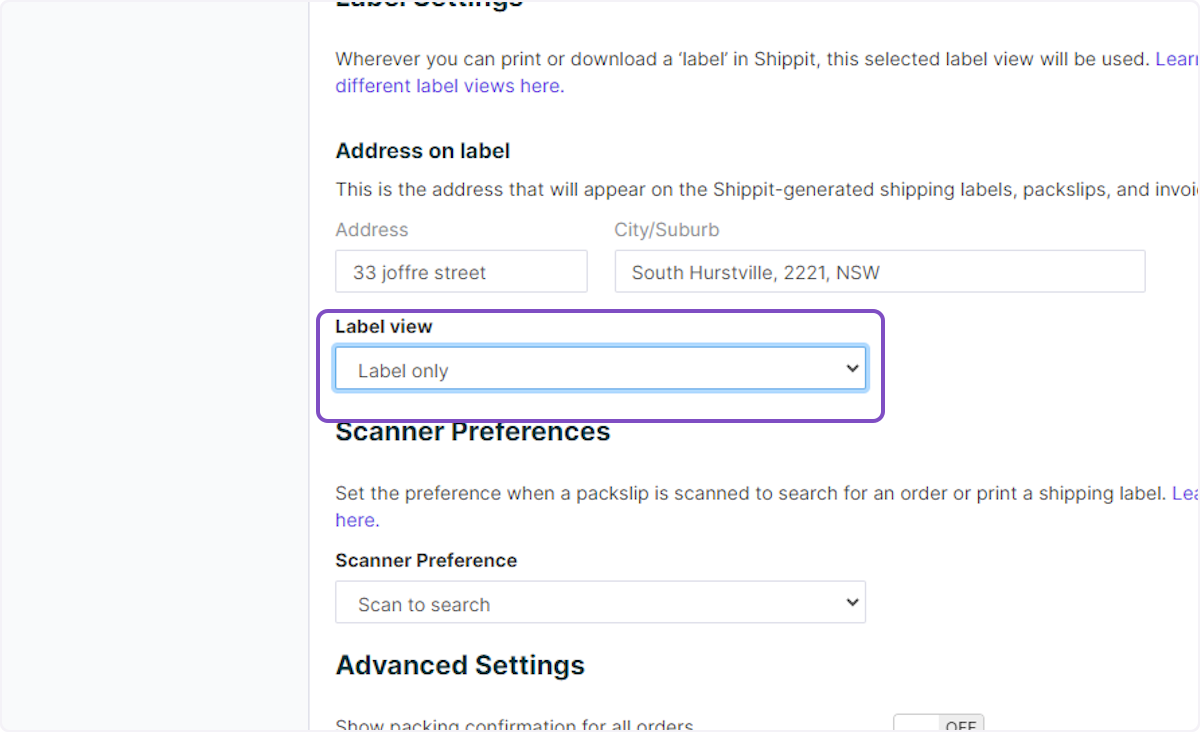
10. The label settings allow you to customize what address is printed on your labels. It will default to your store location unless told otherwise.
11. Scanner preferences are available for merchants who use a scanner as part of their fullfilment process.
To learn more click here
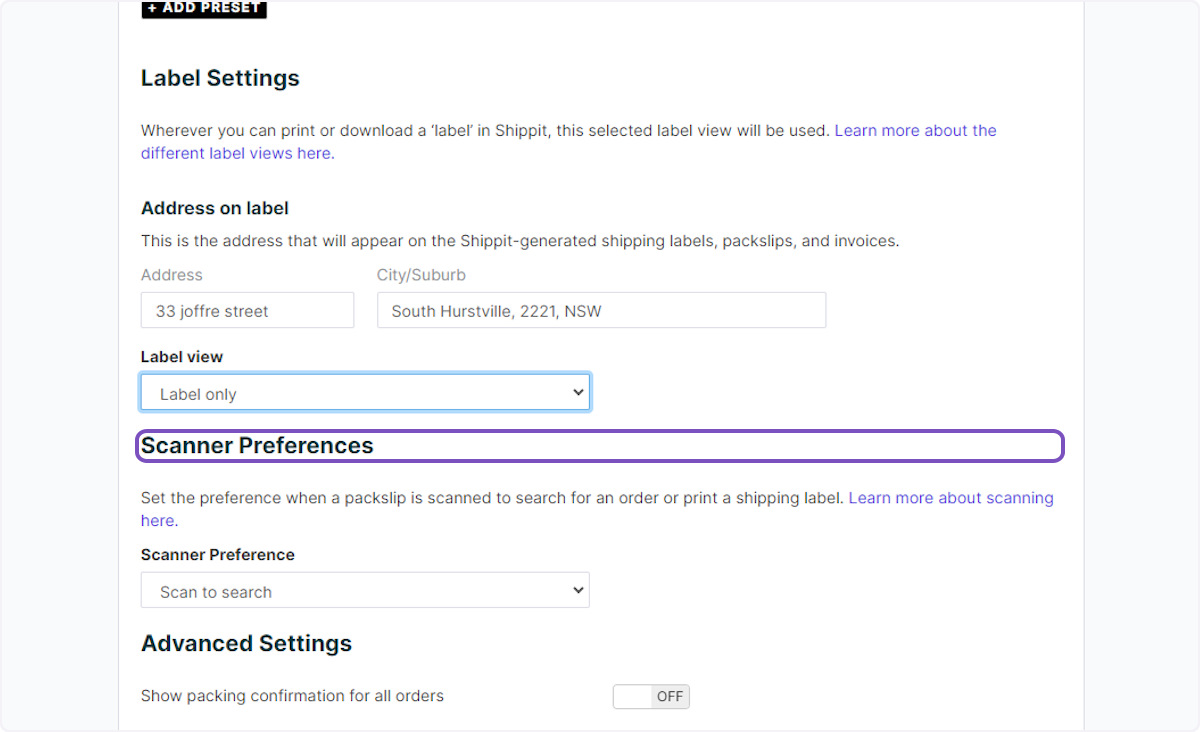
12. Label View
For users that login to Shippit to process orders, the selected label view will be the format used whenever you generate and/or print a shipping label. For users integrated with Shippit’s APIs, the label API will return the selected label view.
Click here for a visual of how each label view differs.
13. Show packing confirmation for all orders
Do you want to show packing confirmation for all orders? Establish an extra level of confirmation once your orders are packed by turning on the first toggle switch
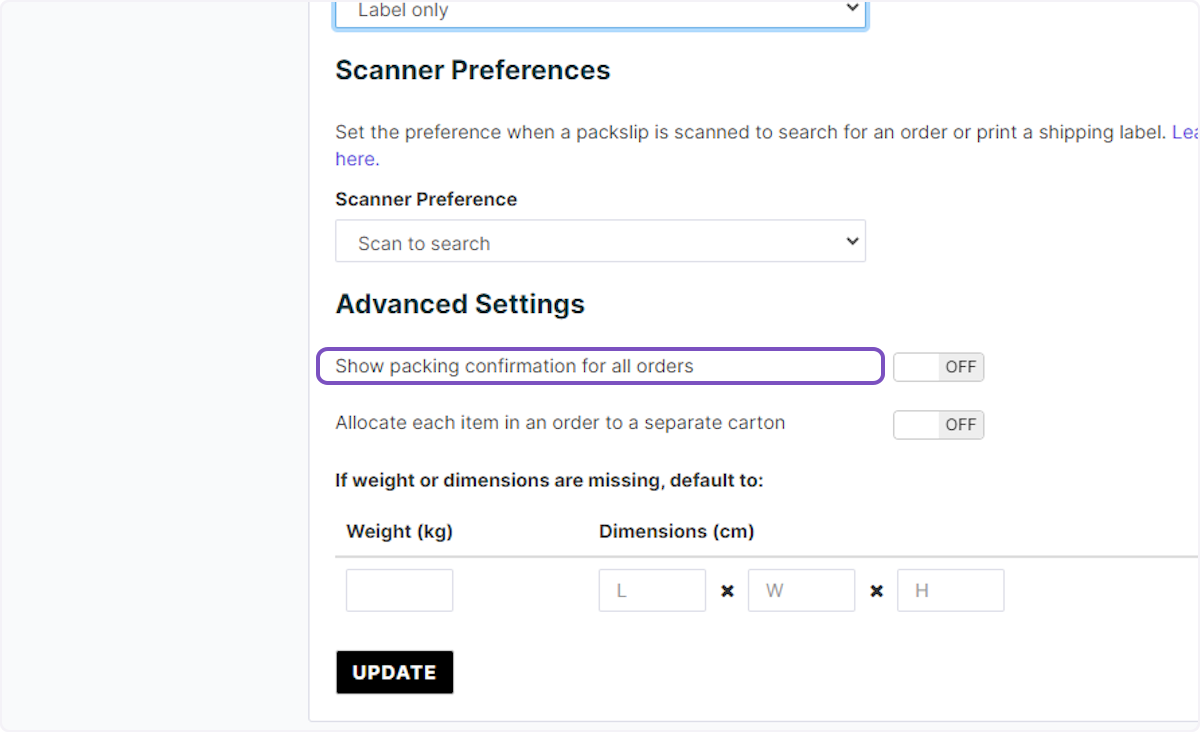
14. Click on Allocate each item in an order to a separate carton
Do you want to allocate each item in an order to a separate carton? You may automate this process by turning the toggle switch on.

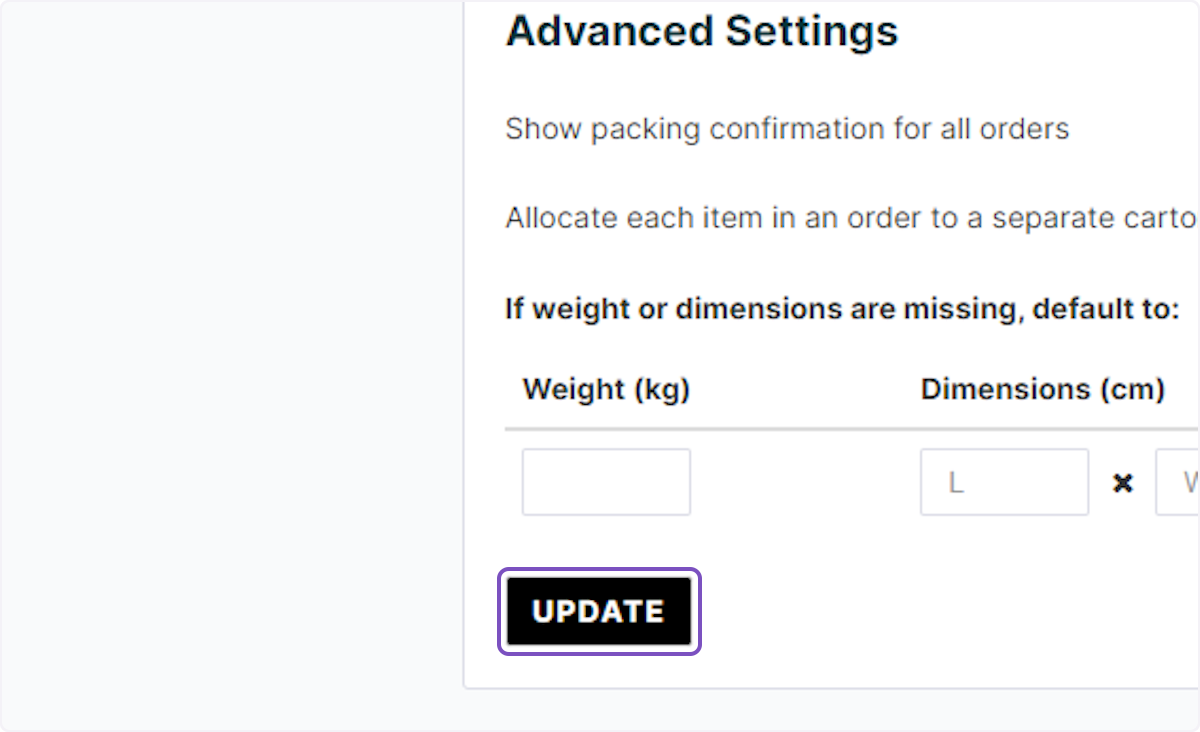
15. If weight or dimensions are missing, default to.
To have every base covered, you may set-up a default weight and dimension for every time an order comes in without these critical information. Type in your most popular package weight and dimension

16. Click Update
5. Connect your label printer

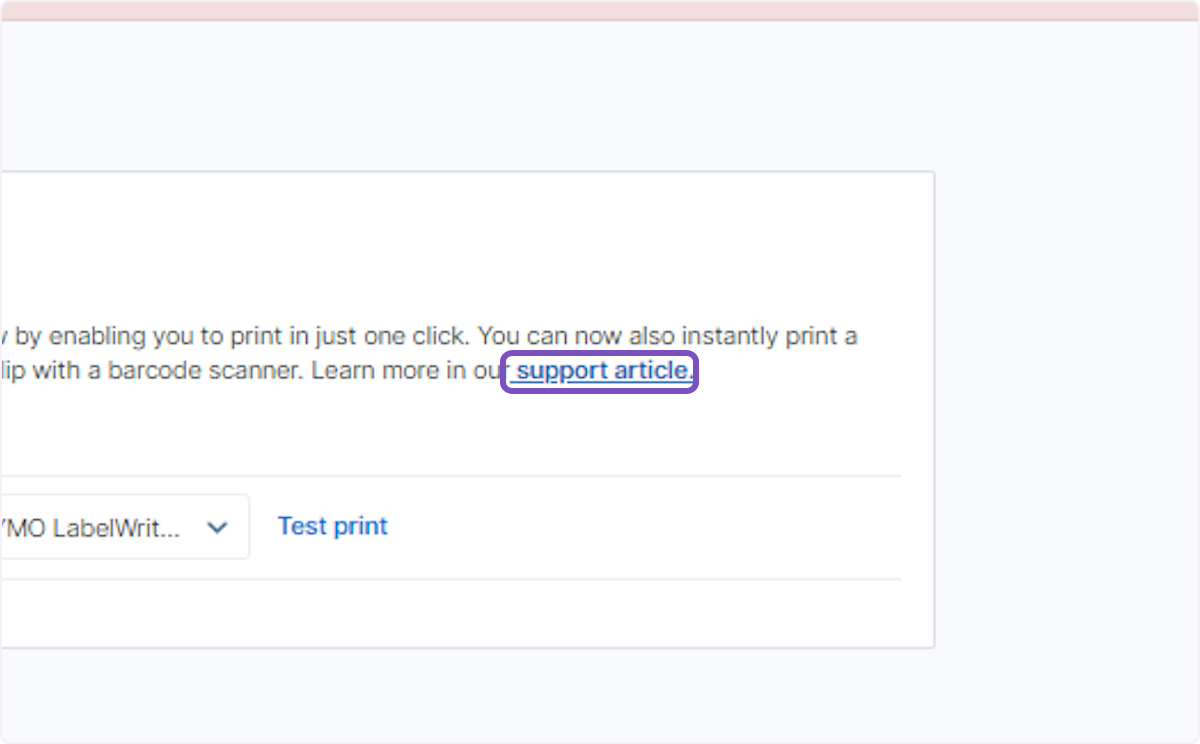
Connect your label printers to Shippit to streamline your workflow and print shipping labels in just one click, directly from Shippit.
Click here for guide
Click here for guide
1. Click on button

2. Click on Settings
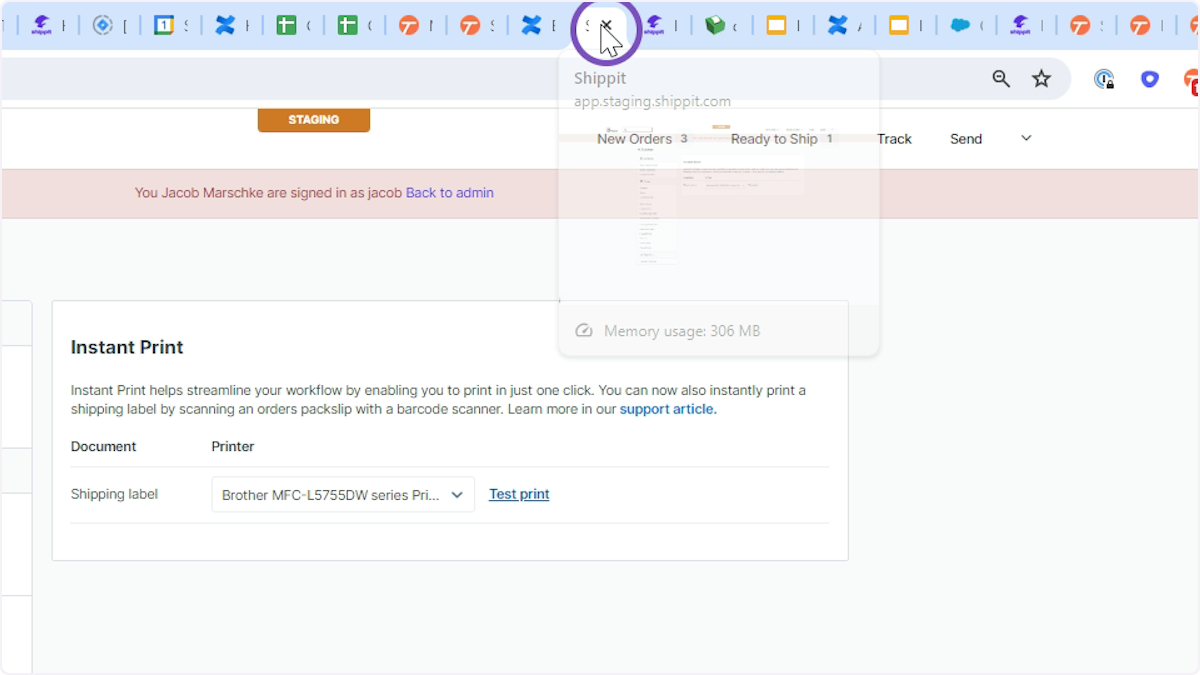
3. Click on Instant Print

4. Click on support article.
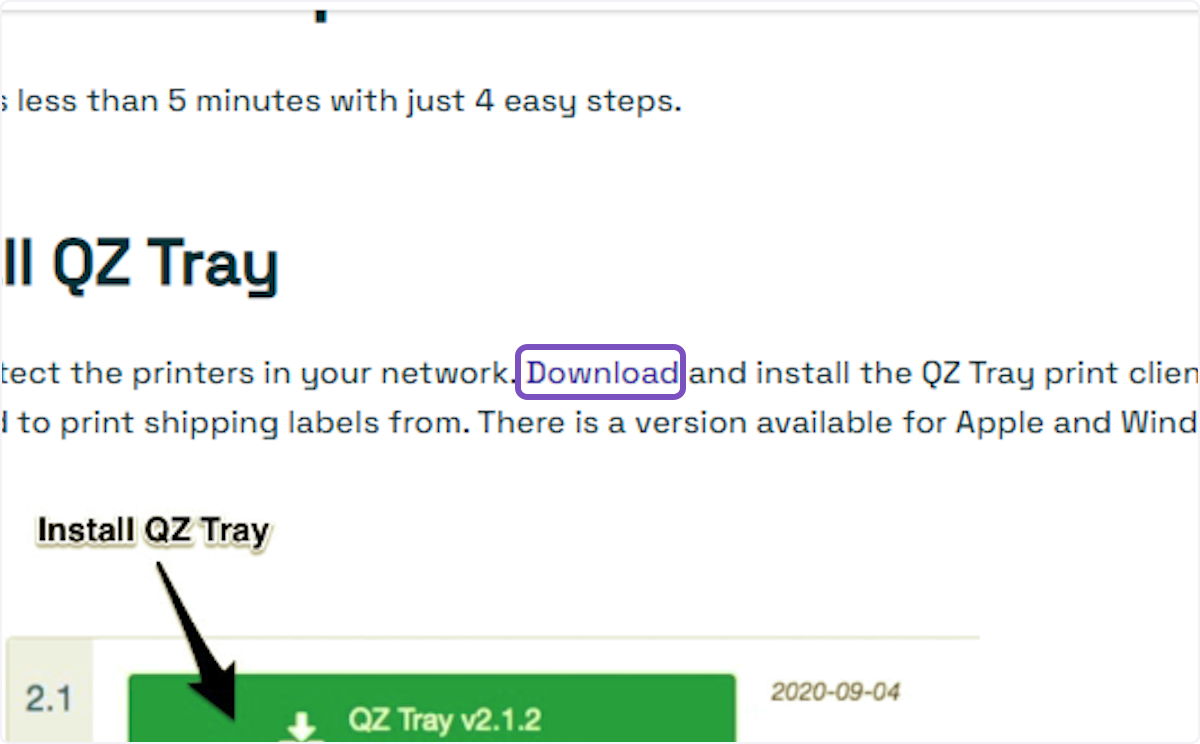
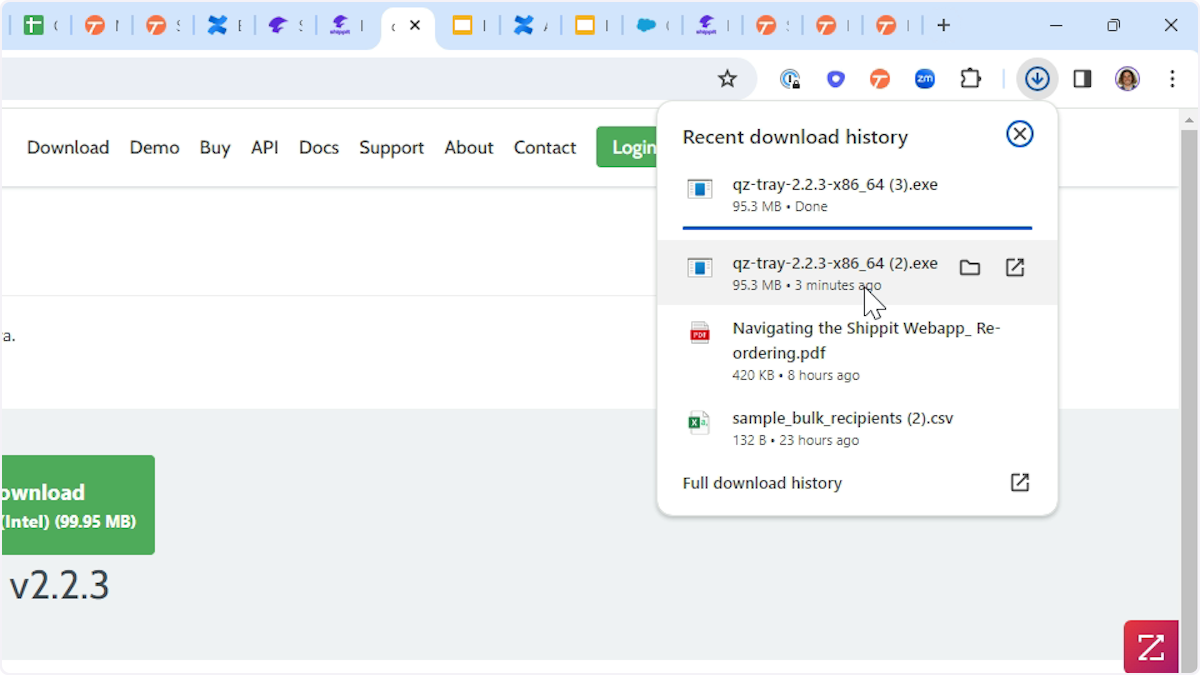
5. Click on Download
6. Click here
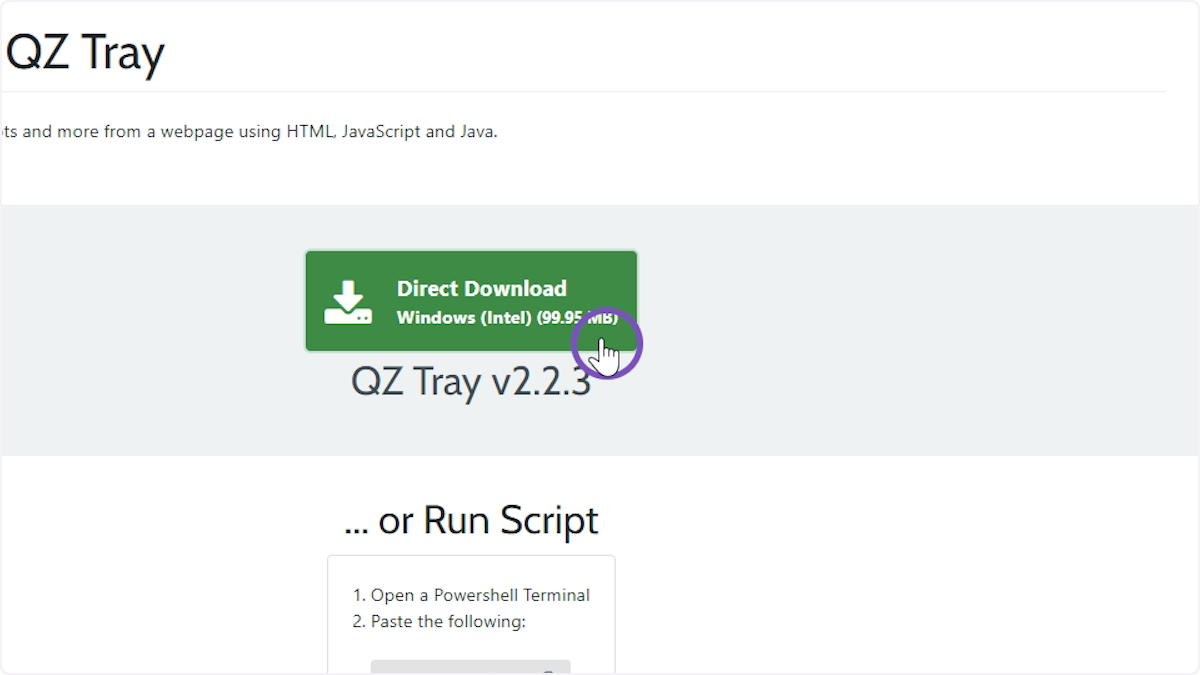
7. Click here
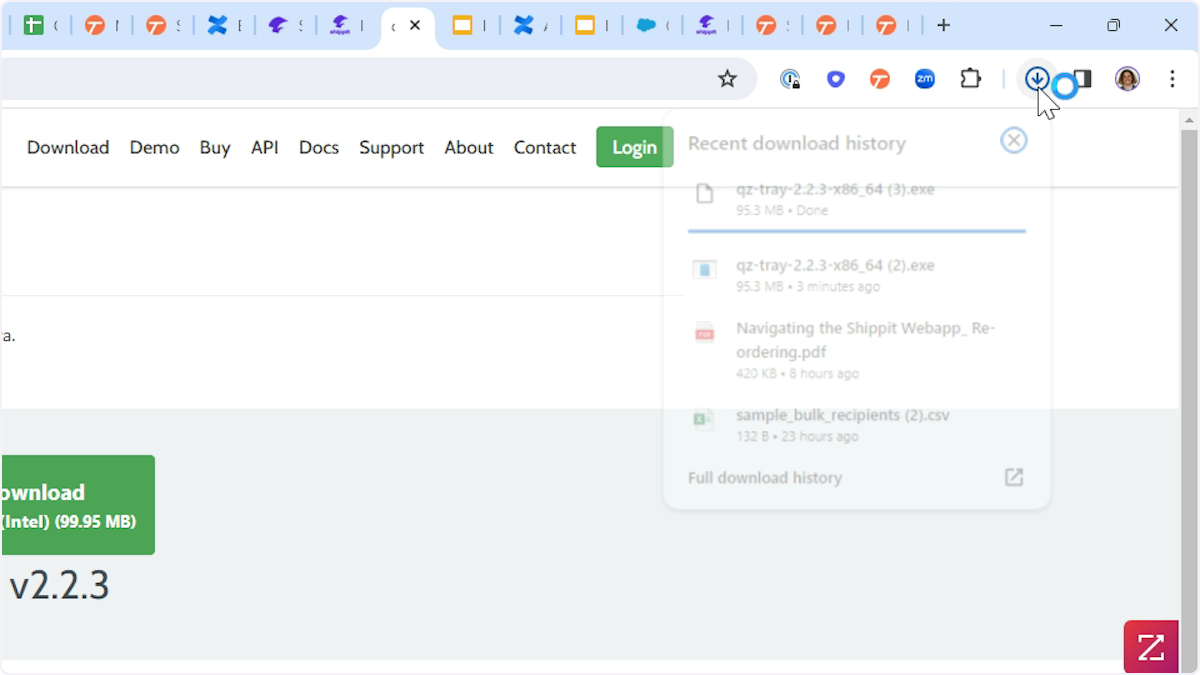
8. Click on the downloaded file and follow the prompts
9. Head back to your instant print settings
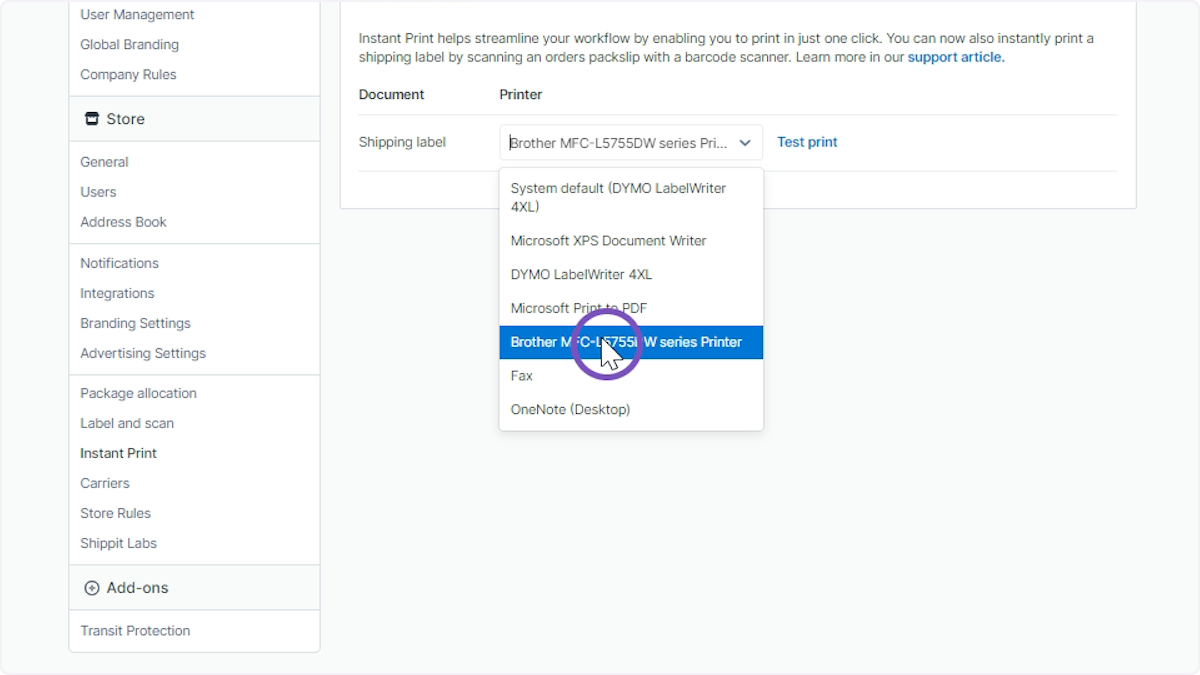
10. Select the label printer as the default printer for shipping labels
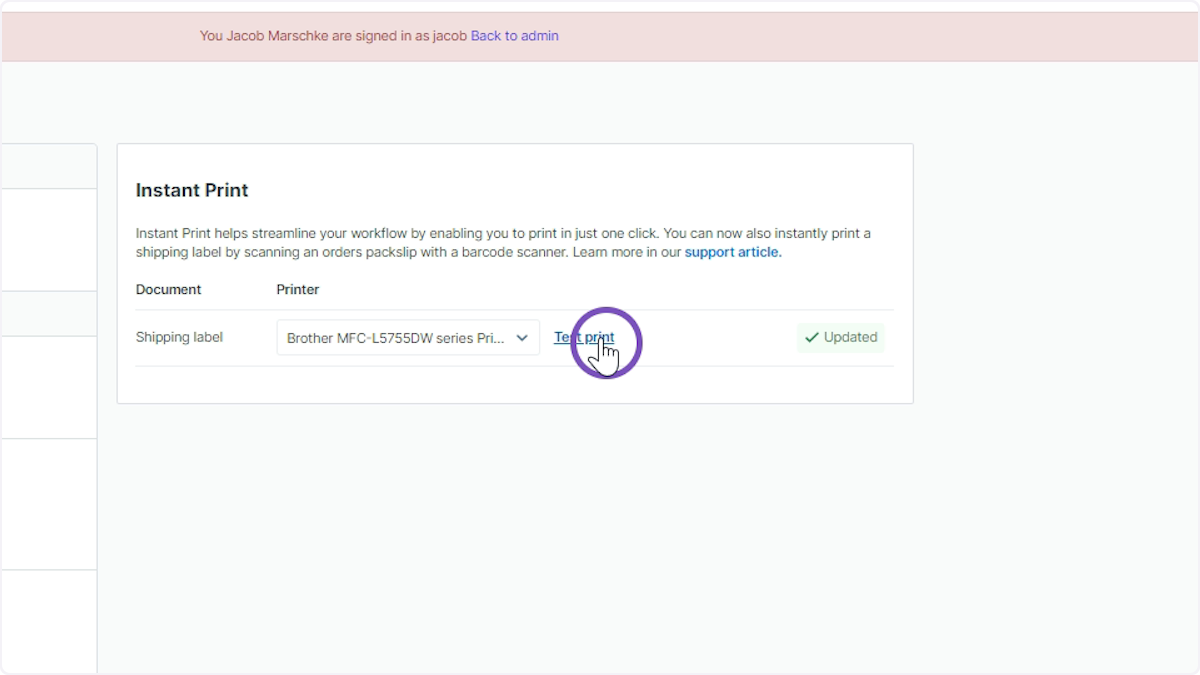
11. To test a label click here
If you nothing happens please review our troubleshooting guide here
Join Jacob in booking your first order 🚚